Get Started with Unity Game Engine
Get Started with Unity Game Engine? Unity is a software tool that people in many different industries use, not just game developers. This software actually helps developers create amazing applications by utilising different kinds of software, including a variety of options that let consumers enjoy the results on their main screen. Because of that, many people also know Unity as a game engine that provides tools to speed up the development process, especially when developers create games using Unity software. I will provide a specific tutorial on how to use Unity to create your first project and also run a simple scene inside the Unity editor. By the end of the tutorial, you should have learned how to finish creating your first project.
Get Started with Unity Requirement Setup To Install
You need the following things before creating your first game project in Unity:
- Unity Hub(Core of the software)
- Create an account or sign up for Unity
- Internet
- Basic computer knowledge
Get Started with Unity: Creating an Account For Unity Hub
Use this link to download Unity Hub before you start creating your first project. In the current version, Unity will prompt you to sign in or sign up if you do not have an account yet. Remember to read their privacy policy and terms, which you may do before creating an account. After you complete the account sign-in step, the page redirects you to the dashboard page that contains different versions to download. Below is a screenshot of the download page for the Unity Hub, which automatically detects that I use Windows. Select the current version you actually have on your system, and your browser will download it directly, allowing you to choose whether you want to save or save as.

Choose which provider you will use to sign in; the best option is to use Unity by continuing with email

Sign In to Unity After Creating Your Account
Enter the legitimate email you currently use, your full name, and a password you can easily remember. After you fill in the form, press the Create Account button to start activating your account with Unity. Then open the email account you used to sign up, find Unity’s message, and click the link to activate your Unity account. After you complete this process, sign in with the same email and password you used during sign-up to access the Unity dashboard. Next, go to this Unity download link again to open the source file link for Unity.


Install Unity: Set Up Your Game Engine
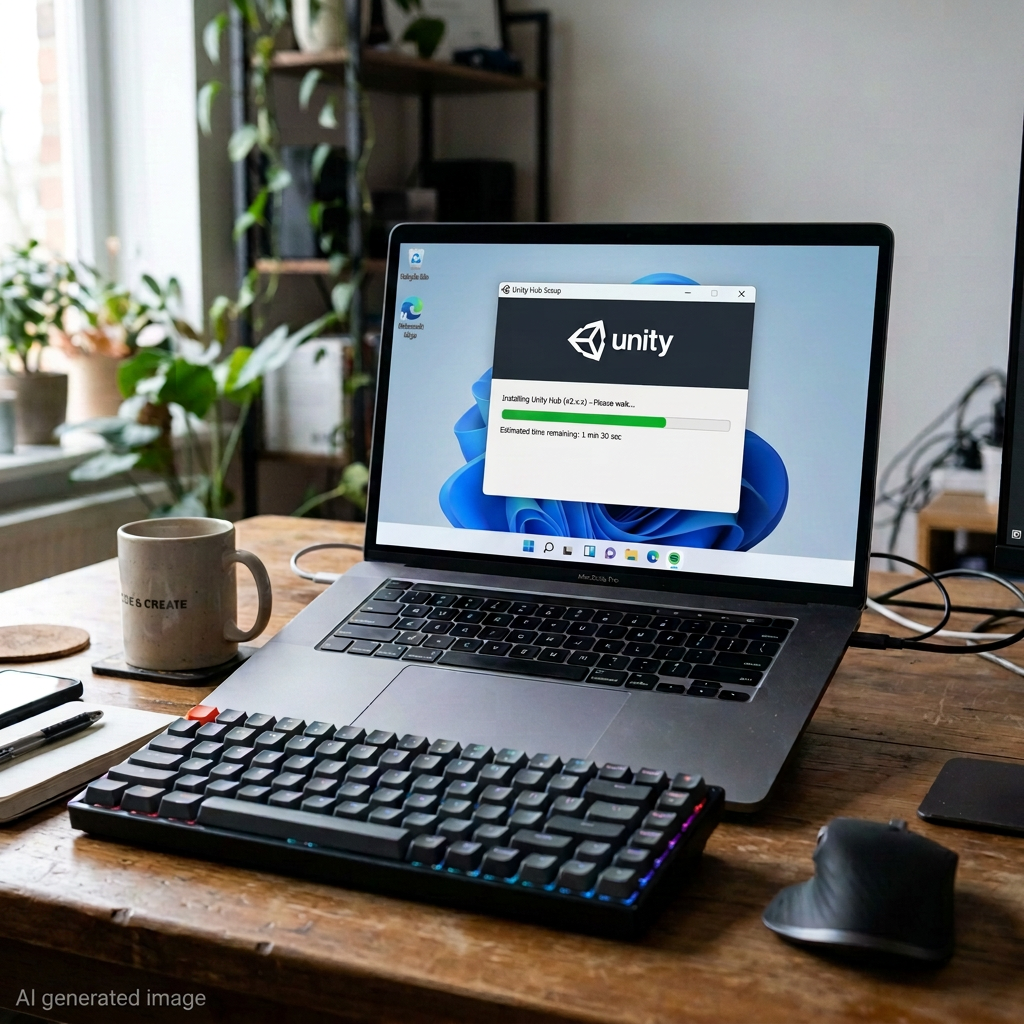
Install the Unity Hub when downloading has finished. The Unity Hub lets you access Unity game engine versions and open the application on your operating system. It can organise different kinds of projects that you are actually working on and that you save on your hard drive. Not only that, but you can also download a specific version of Unity using those tools; without it, Unity does not function properly or very well. Once you open the downloaded application, the screenshot below shows you how to install the Unity Hub. Choose your main folder or destination where the system will save the files, and press the Install button; the installer will then automatically install it on your system.

Starting Unity Software
After you finish installing Unity, open Unity Hub by clicking its logo in the Unity Hub folder in your directory or by using the shortcut in the Start menu. Unity Hub will take you to its main interface, which offers many options, including creating a project. Click the Install button on the left side panel to see the different Unity versions you can choose from. I recommend selecting a Unity LTS (Long Term Support) version so that you receive long-term support from Unity when you build or test your games.

Subscribe to get access
Read more of this content when you subscribe today.
Visual Studio Installer For Scripting
The image below shows that I downloaded Microsoft Visual Studio Community 2026, which makes the installed size appear on the download size panel and also lists the sizes in the column list panel. Tick the option list that you find helpful in developing your game project or application. Additionally, the option list I mention shows the platform support that usually appears when you try to build your game on another platform or operating system that the Unity game engine supports.

Get Started with Unity Optional Install for Unity User
Moreover, you can also install language packs that support languages like Chinese, Japanese, and Korean. These language packs have low download sizes and use minimal disk space after installation. Additionally, the documentation lets you access certain information about Unity without the internet. You can use this information for guidance purposes. Once you select the version that you want, you can begin installing Unity either with the optional selections or without them. The download and installation will follow. The wait time depends on your internet connection and your hardware system’s performance during installation.

Get Started with Unity: Creating a Project On Unity Hub
Once you install the Unity game engine, you can begin creating your game project. Select the New Project button, and a new display appears that requires you to input certain information, like a name and selecting the best option for your game project description so that the game engine can create the project with the respective information.

Choose the Unity organisation that you have available on your account when you create them at Unity. Now select the location for your game project directory and the project name next to the red asterisk. Unity also supports control providers, which let you back up your game project in the cloud so you can access it everywhere. You can choose from three interface options: Universal 3D, Universal 2D, or High Definition 3D. I recommend using Universal 2D so that you can learn Unity effectively and quickly, where the system requirements are also lower and make your project run faster. You can also select to use an AI assistant as an optional helper.

Unity Editor Interface
After you create the project, Unity loads its logo and a progress bar that shows different kinds of data it extracts to the project’s file directory. Once the progress bar finishes, a pop-up window appears, as long as the project creation does not cause any errors or crashes. Below is a picture of a freshly created project on my current system. For your information, the red square shows the current layout I use for the Unity game project, which means the default layout without any modifications.

Conclusion On Getting Started With Unity Game Engine
In conclusion, that is all I had to say about creating your first project using the Unity game engine. Make downloading Unity Hub your main priority before you set up anything else in the editor. If you have any questions or need assistance, feel free to comment below. Thank you.
I drafted this article from my own perspective and used AI to polish the language.
Concept art (created with generative AI, touched up manually).


Leave a Reply