2D Physics Game Object In The Unity Game Engine
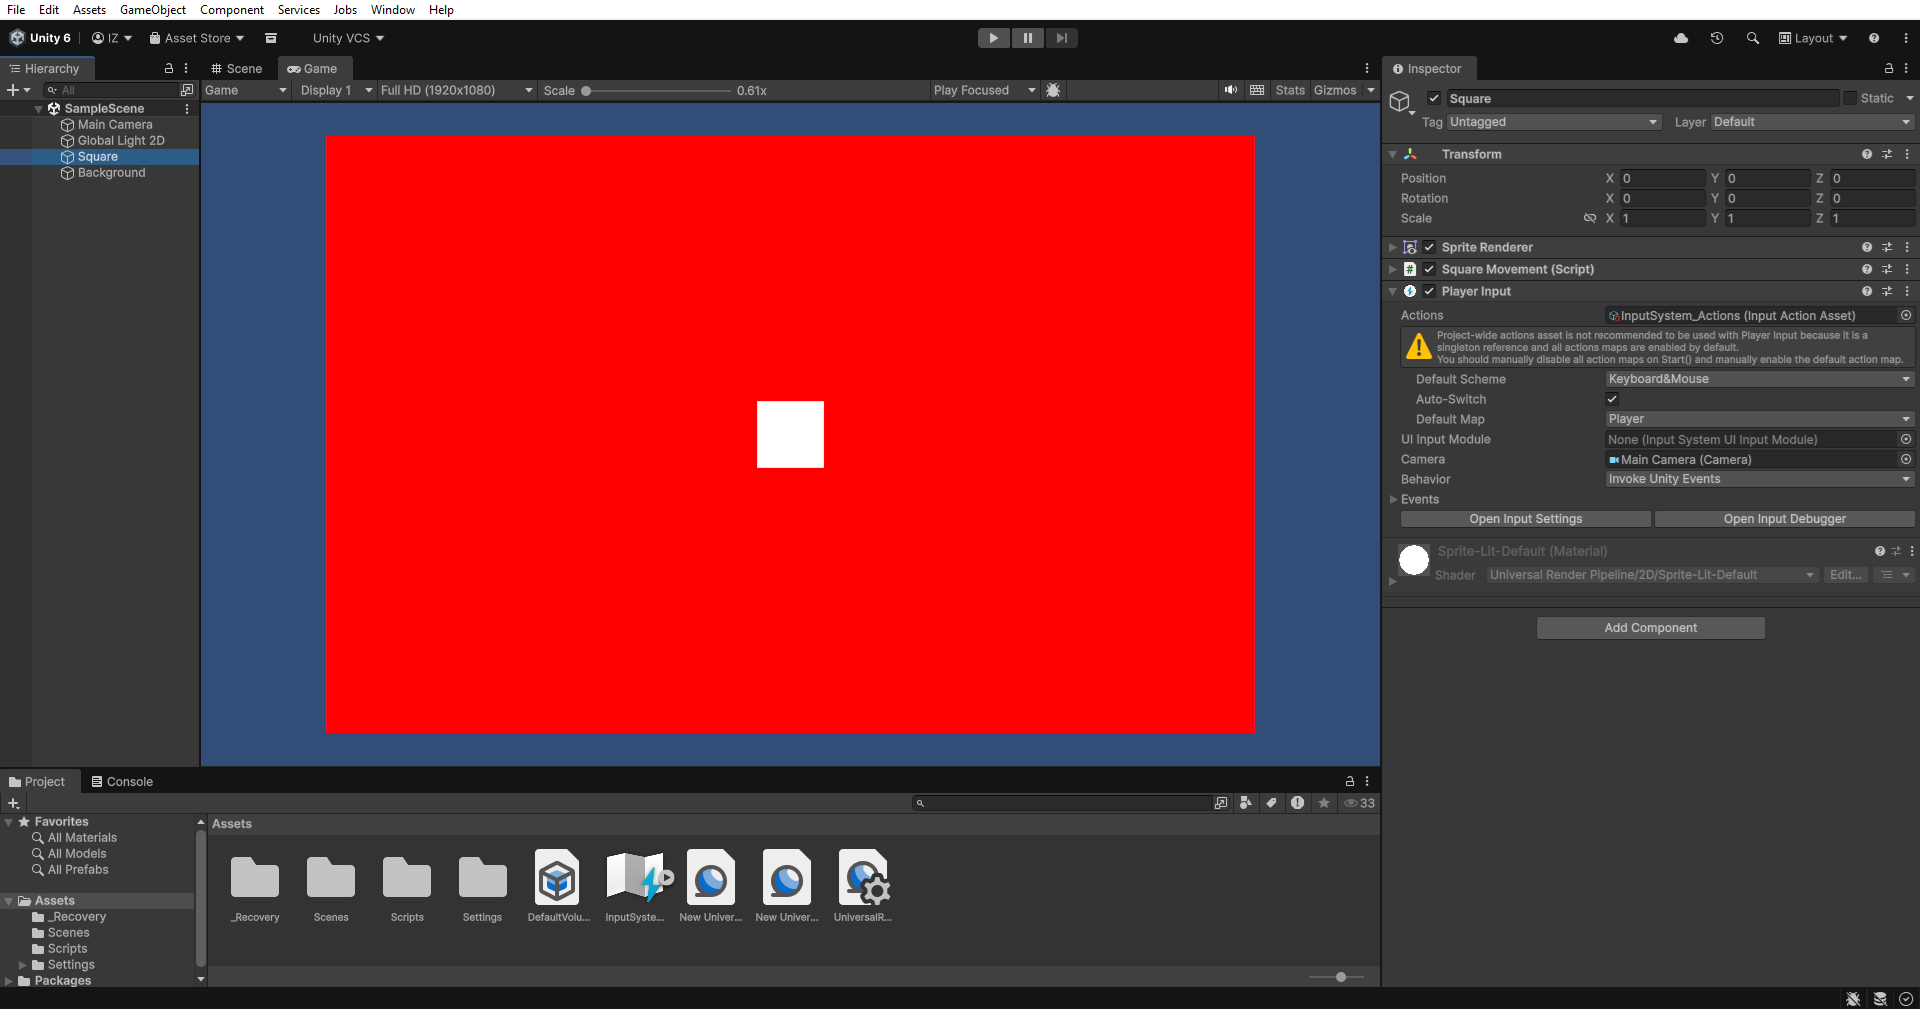
Previously, I mentioned adding a 2D physics component to the game object. This week, I will continue adding more game objects to the tab hierarchy of the Unity game engine. Because gravity affects the square game object, it keeps going down. To fix that, I will add a new game object similar to the square game object with its 2D physics component. The only thing that needs changing is its transform component. Usually, for that game object to appear on the screen, it should sit at the bottom of the screen.
Set Up the 2D Physics Ground Game Object
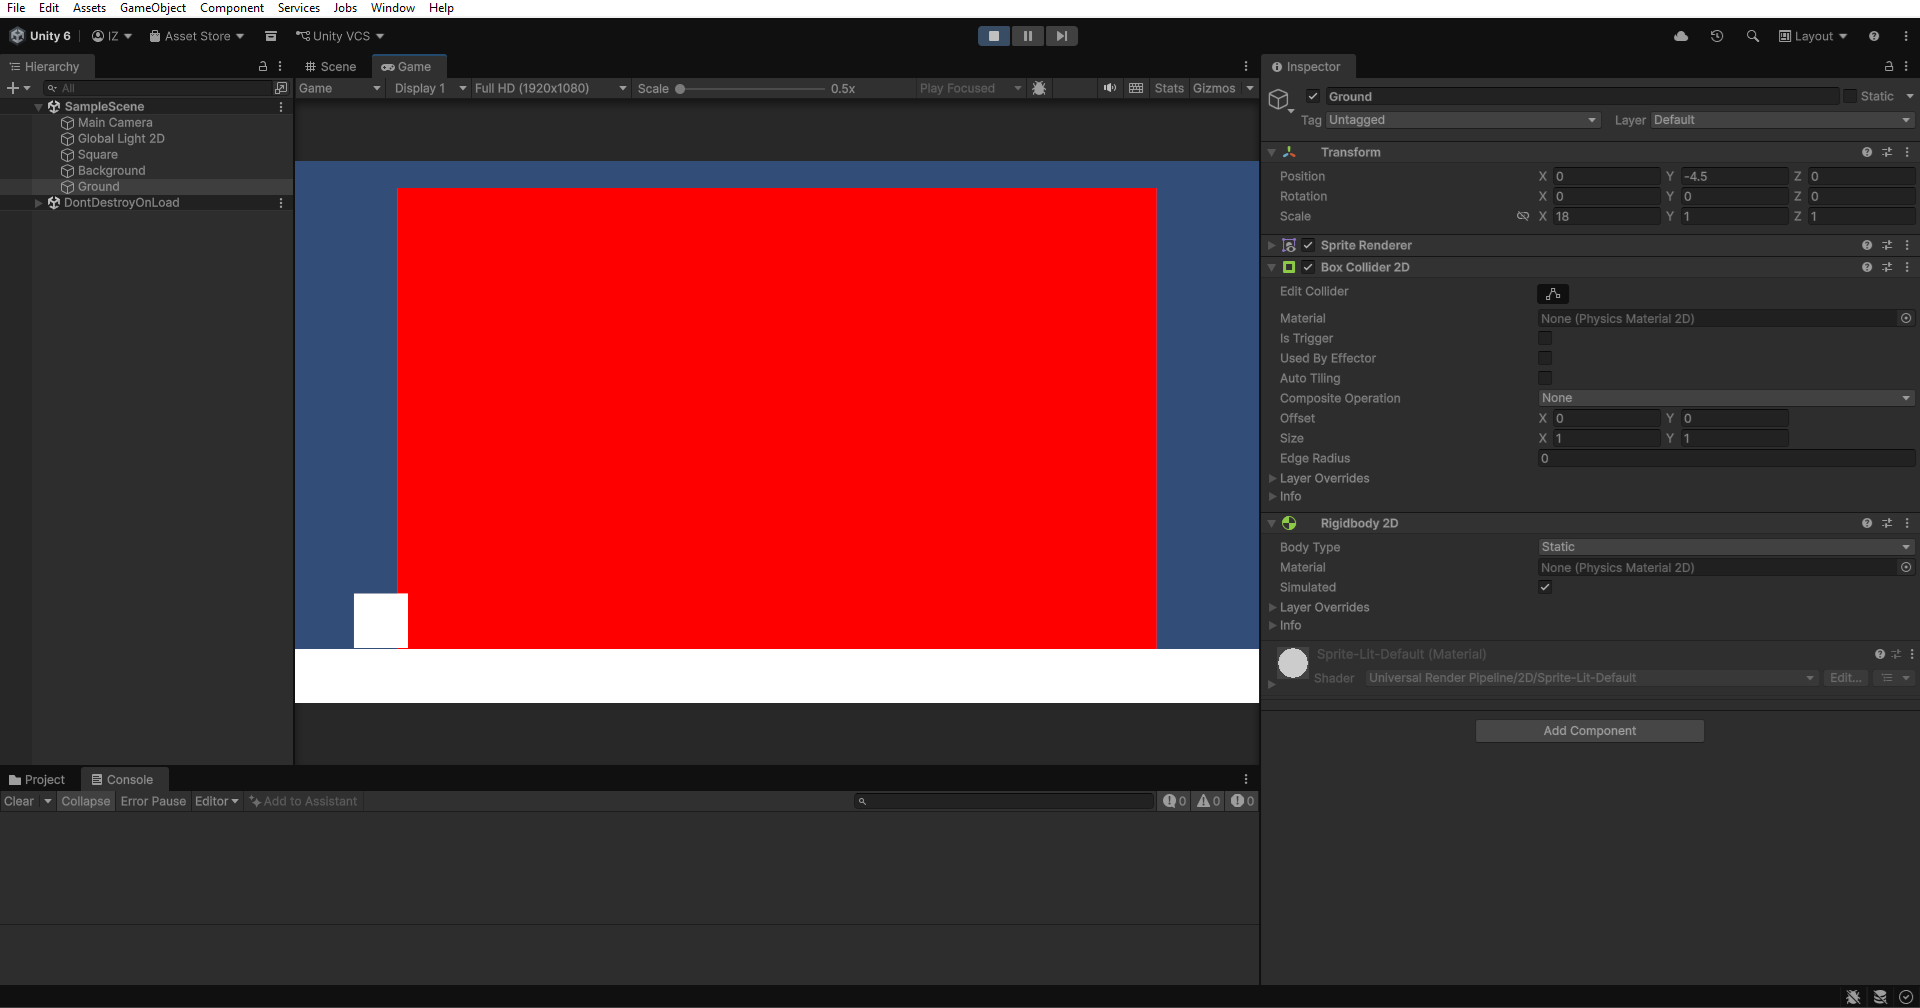
How do you add the game object for the ground? I previously added a tutorial for creating the square game object here. That tutorial explains how the square game object is added after the game scene explanation. To add the ground game object, you can use the same method as for the square. Rename the square to “Ground” so you can easily identify it in the Hierarchy. After adding the square ground game object, go to the Transform component to adjust the scale. Adjust the scale so it matches your screen resolution and covers the left and right edges of the screen. I had to scale the X axis to 18 so that it fit my screen size.

Positioning the Ground Game Object
After scaling the game object from a value of one to eighteen on the X axis, change the position in the Transform component to a new value that fits your screen. For me, I have to reset the position on the X axis to zero so that it moves to the centre of the screen. Then I change the position value on the Y axis to a negative value. That value is negative four point five, which changes the position on the Y axis to be negative. This makes the ground position on the Y axis move down to the bottom of the screen. As you can see in the image below, the rectangle’s position and scale have changed from a square to a rectangle, which occupies the bottom of the game screen while the square stays at the centre.

Adding 2d Physics Component
Add the 2D physics components to the ground game object, similar to how you did with the square. Previously, I explained how to add both 2D physics components to a game object in the Scene tab. After you add both 2D physics components, the Box Collider 2D and the Rigidbody 2D, adjust the settings, especially the Rigidbody 2D properties. Change the Body Type of the Rigidbody 2D from Dynamic to Static. Make this change because gravity usually affects Dynamic bodies. Use Kinematic for movable objects that gravity does not affect. Choose Static in this case, since the ground object stays on the screen without moving.

What Is Static Rigidbody 2D?
With a static Rigidbody 2D, the player can collide with the game object during gameplay. Gravity does not affect the ground, but the player can still interact with it. When you enable the Simulated component, the system uses collisions to identify game objects in the game. The player can now stay on the ground without falling further off the main screen. A static ground game object also provides no weight, so any game object that collides with it keeps the same weight. This means that not only the square game object can interact with it, but other game objects as well. When the square game object touches the ground, you can use the input system. The input system can make the square game object move while also letting the physics system affect it.

Move the Square to the Top of the Ground
Using the last square movement of the game object, the user can move around the ground. This is based on the last input system for which the square has been set up. The use of the new input system and the legacy input system makes the square game object move accordingly. The square game object only moves to one point with different x and y axes. When moving upward, the square game object will fall. This is because the Rigidbody 2D component is set to Dynamic. Moving left and right also results in manipulation of the transform position. This makes the square game object move using the transform position instead of the Rigidbody 2D position.

Changing the Square’s Transform to Rigidbody 2D Position
Getting The Rigidbody 2D Component
To begin, open the C# script from the top tab in the Assets and the sub-hierarchy. Choose “Open C# Project,” which will load Visual Studio when you select it. In the square movement script, declare a private Rigidbody2D variable in the class to ensure that only this script uses that variable. Rename that Rigidbody2D variable to a clear and consistent name. Once this is done, go to the Start function of the MonoBehaviour script to use the variable. Assign the variable by using GetComponent so that the script is linked to the Rigidbody2D component.

Change the transform to Rigidbody 2D
In the input system script, I am actually using the transform. position to move the game object. To use the Rigidbody2D position, I retrieve the variable that I stored earlier in the Start function. By changing from transform to Rigidbody, we are actually moving the game object through physics instead of directly changing the transform. This aligns with the performance recommendations for using the Unity game engine and helps prevent delays in response. I also commented out the last line of code that used transform. position to prevent it from being used anymore. I also reused the last piece of code so it could be integrated with the Rigidbody2D transform. Translate to move the game object.

Conclusion: Adding Ground and the Use of Rigidbody 2D Position
I believe that by adding ground to the game scene, the game object can now stay on that ground. It can also move left, right, and even up when using the input system. By changing from using the Transform component to the Rigidbody component, movement will better follow physics rules. Instead of ordinary Transform-based movement, it changes to a more collision-based movement. This helps you learn how to use 2D physics with game objects instead of not using the physics system at all. A game without a physics system usually feels unfinished and incomplete, while physics makes movement smoother, especially for game objects. If you have questions, please leave them in the comment section.

I drafted this article from my own perspective and used AI to polish the language.
Concept art (created with generative AI, touched up manually).


Leave a Reply