
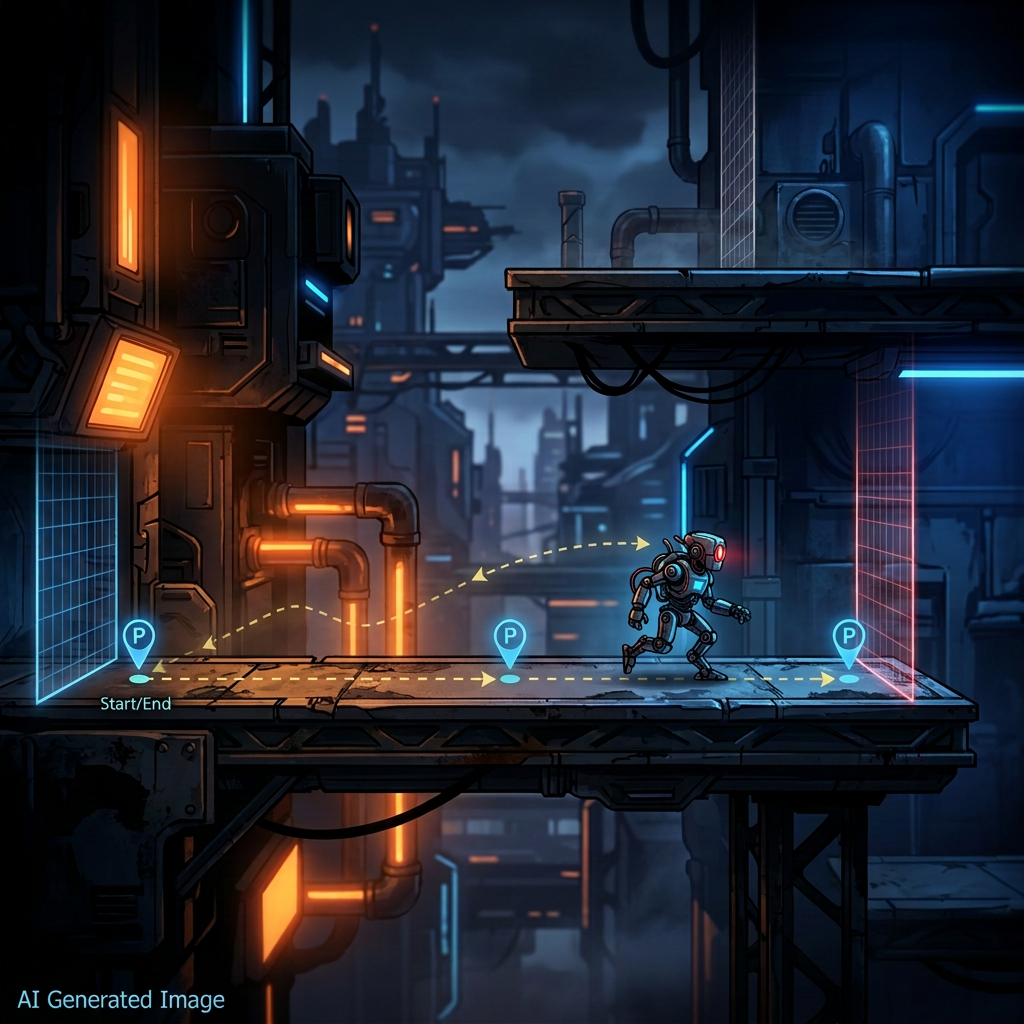

Creating Enemy AI: Introduction
Games that feature a hero character usually include enemy AI (Artificial Intelligence). When players control that character, the game considers them the hero. The game usually associates enemies with the bad side or treats them as antagonists to the player. Enemies try to destroy the player and block progress to certain levels or other positions in the game. They act as obstacles and force the player to respond when an enemy approaches. Players most commonly respond by avoiding enemies, either by escaping or by performing actions such as jumping. This type of game usually falls into the action and adventure genre, but it can also include other instructions for the player.
Recap on Last Tutorials
In the last tutorial, I mentioned how to implement the health system in a Unity game project. The health system includes how to add UGUI and update its text information on the screen, especially the health slider. I also mentioned how to add component scripts in the Inspector for the GameObject. By adding the health system in the previous week, it is now ready for the next step for the player, which is to confront the enemy. The enemy itself needs to be configured with AI (Artificial Intelligence) that automatically performs actions in the game.
Creating Enemy AI With Game Object
As in my previous tutorial, I mentioned how to add game objects to the game by pressing CTRL+SHIFT+N on the keyboard or by right-clicking in the Hierarchy. After you create those game objects, rename them to “Enemy” by pressing F2 on the keyboard in Windows. Renaming the game objects makes them easier to identify in the Hierarchy tab compared with other game objects. Next, I assigned the Sprite Renderer component to the game object, which I had previously covered. You can do this by selecting the enemy game object and, in the Inspector, adding the Sprite Renderer component. Another way is to use the top menu to add it by navigating to Component and finding Sprite Renderer to add it.
Creating Enemy AI: Configure Enemy
After you add the Sprite Renderer component, assign the colour and the sprite. Use the usual square sprite from the Unity engine built-in assets. Choose red for the enemy so the player can see it clearly. I set the Sprite Renderer colour to FF0000 in hexadecimal. Because this colour matches the background from the previous tutorial, I disabled that background GameObject. Now you can clearly see the enemy GameObject in the game scene. The colour differentiates the enemy from the player. I also set the enemy transform position to -5 on the X axis and 1 on the Y axis.

Creating Enemy AI: More Components for the Enemy Game Object.
In the Inspector of the enemy game object, add a Box Collider 2D and a Rigidbody 2D next. Add these components in the same way as for the player before; they handle collisions between game objects. As I mentioned before, collisions allow the enemy and player to interact. Configure the collider components as well, such as setting the Rigidbody 2D to Dynamic. This setup works similarly to the player, so the two objects share similar characteristics. Now add the remaining script component to the enemy game object, which is “Enemy” (renamed). You can also copy the components from the player, especially the Collider and Sprite Renderer.
Enemy Script Configurations
Now open the enemy script, which will open in Visual Studio that you already installed before. You will see that two functions, or methods, are automatically created: Start() and Update(). The first thing the enemy needs to do to move with the AI is detect when it is actually hitting the ground layer. Once the ground has been detected, the enemy can move left and right along the platform ground. I decided that the enemy movement should change over time so that it does not always move in only one direction. I believe that using Physics2D.IsTouchingLayers is the best way to detect the ground layer.
Fixed Update Method for Movement
In the FixedUpdate method, I use the Rigidbody2D to set the transform position for the enemy to move around. This movement depends on timing, which controls the enemy’s movement to the left and right. First, I initialise the Rigidbody2D field, and then, in Start, I use GetComponent to store it as a reference. I also assign another variable, patrolTime, as a float. This variable is used when the enemy finishes patrolling either left or right, so that I can change its direction. For that, I create another method or coroutine specifically for this task.
Coroutine IEnumerator Function
Making the routine an IEnumerator is actually to control how the patrolTime works. Initialise the float variable patrolTime to 3 to 4 seconds in the Start() function. In the IEnumerator routine, decrease patrolTime every second by multiplying it by Time.deltaTime. In FixedUpdate(), use the patrolTime variable to reset the movement when it hits zero so that the movement changes direction. Use the variable initialised earlier in the Start() method.
Make the Physics Movement
Use the reference of the Rigidbody that you initialised to move the Transform position by adding the manipulated move speed value multiplied by Time.deltaTime. This works like the player movement, but it does not require input because it updates every frame. Also, remember to add the layer mask on the Ground GameObject in the hierarchy. At the top right, add the layer mask by selecting “Ground” or creating a new one. The Physics2D.IsTouchingLayers() function uses this layer mask.
Reset Patrol Time
In FixedUpdate, the Rigidbody2D moves the transform position from one place to another while the patrolTime variable controls the direction. Next, I reset the patrolTime variable when it reaches a value of -4 after being decreased over time. This makes the enemy move left and right after about 3 to 4 seconds of movement. I also call the IEnumerator routine in the Start() function by starting the coroutine named IEnumerator EnemyPatrolUpdate(). By using a while loop and yield return null, the code is continuously updated while the game is running.

Compile and Save
Once you set up the scripts as I mentioned above, save them and return to the Unity editor. The scripts will compile automatically and load for a short period of time. After that, check your enemy GameObject, especially components like Rigidbody 2D, BoxCollider 2D, and Enemy. Also, check the ground GameObject in the Hierarchy to make sure it is set to the Ground layer in the top right corner of the Inspector. Now press the Play button, and you will see that the red enemy moves left and right when it touches the ground. You can even collide with the enemy, but nothing happens yet.

What You Had Learned From This Tutorial
This tutorial teaches you how to create a game object, add components, and write code in Visual Studio using C#. You will also learn how to use the system known as a coroutine, which you can use as a looping task. The coroutine system works effectively when you need pauses for some time before the next task begins. You typically use FixedUpdate with the physics system, such as Rigidbody 2D movement that controls an object’s position. In the next tutorial, I will cover player damage when colliding with an enemy, which will cause their health bar to drop or slide in the opposite direction. Thank you for reading! Let me know what you think in the comments section.
I drafted this article from my own perspective and used AI to polish the language.
Concept art (created with generative AI, touched up manually).
Leave a Reply